Did you know Windows 11 has a built-in tool for capturing screenshots and recording screencasts? It’s called the Snipping Tool and you can launch it by either using the Windows key + Shift + S keyboard shortcut or by searching the Start menu for “snipping tool”.
Once the Snipping Tool is open, you can record a screencast by toggling the mode from screenshot to screencast (by clicking the film camera icon). Then, drag your mouse cursor to define the area you want to record, whether it’s an entire window or just a certain section.
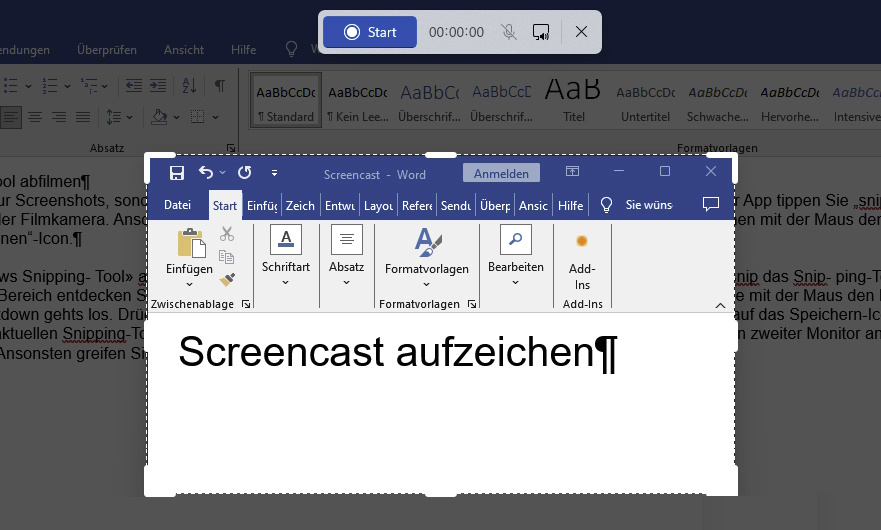
Then, to start recording, click on the Start button:
In Windows 11, the Snipping Tool also records screencasts.
IDG
After a three-second countdown, the tool will begin recording. You can do whatever you want on screen and it’ll be recorded in the screencast. Use the Pause button to temporarily pause or the Stop button to end recording altogether. Use the Microphone and Speaker buttons to mute or unmute the recording of microphone and/or system audio.
When you’re finished, you can then play the recorded video in the snipping tool using the Play button. To save the recording, click on the small Save in the top right-hand corner of the Snipping Tool.
Further reading: Obscure Windows features worth knowing about
https://www.pcworld.com/article/2532666/windows-11-has-an-easy-tool-for-recording-screencasts.html
Chcete-li přidat komentář, přihlaste se
Ostatní příspěvky v této skupině

Sometimes you have to enter your email address on sites that don’t se

If you haven’t been paying attention to the news, heads up—prices for


We love starting the week with a surprise, and this time around it’s


Buying a game controller for your PC is a task fraught with uncertain