The Raspberry Pi 5 is several times faster than previous models of the compact and cheap computer. For less than a couple hundred bucks, you can have a computer that can do many tasks that previously required a regular PC, that consumes very little power, and for which the web is overflowing with exciting tutorials and projects you can take on.
In this guide, I’ll first walk you through how to build a Raspberry Pi 5 with maximum performance so you can use it for everything it’s capable of. To do that, you’ll need to take advantage of the board’s new ability to connect an SSD via PCI Express.
Here’s what you need
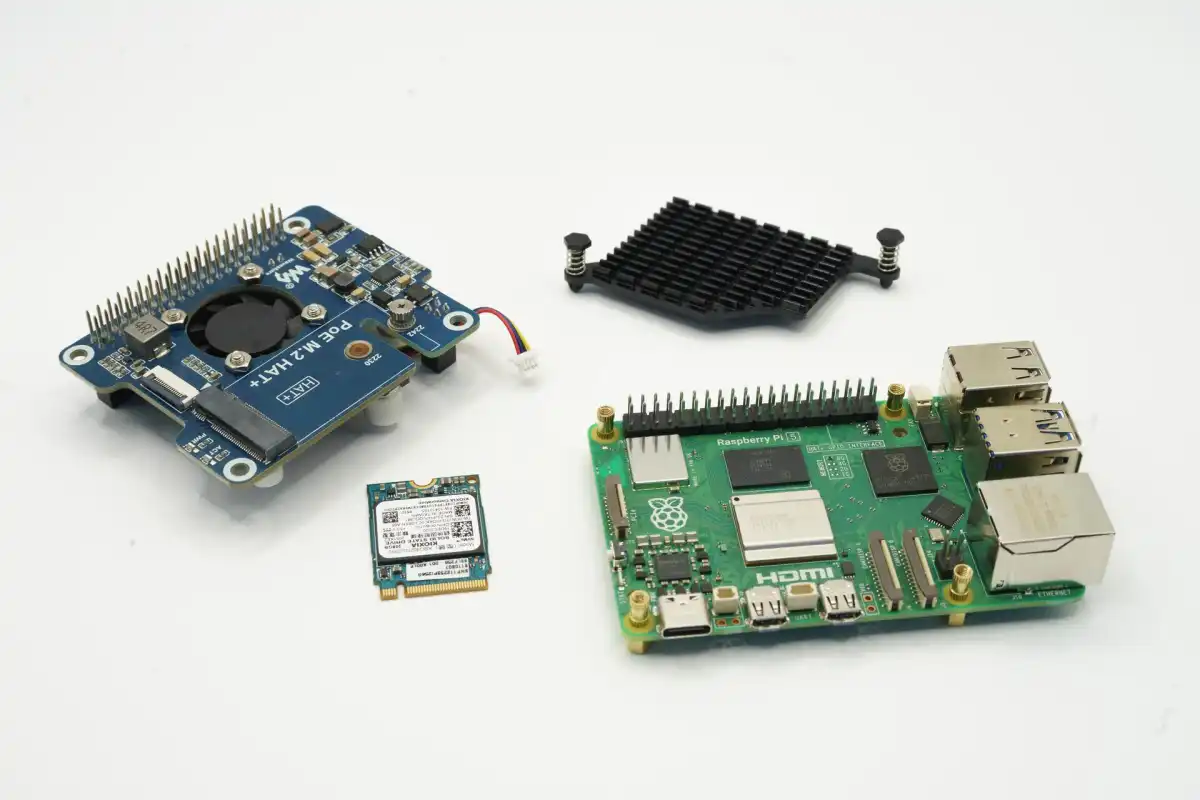
To fully follow this guide, you will need the following hardware:
- Raspberry Pi 5 (8GB for maximum performance, but you can choose 2- or 4GB as well)
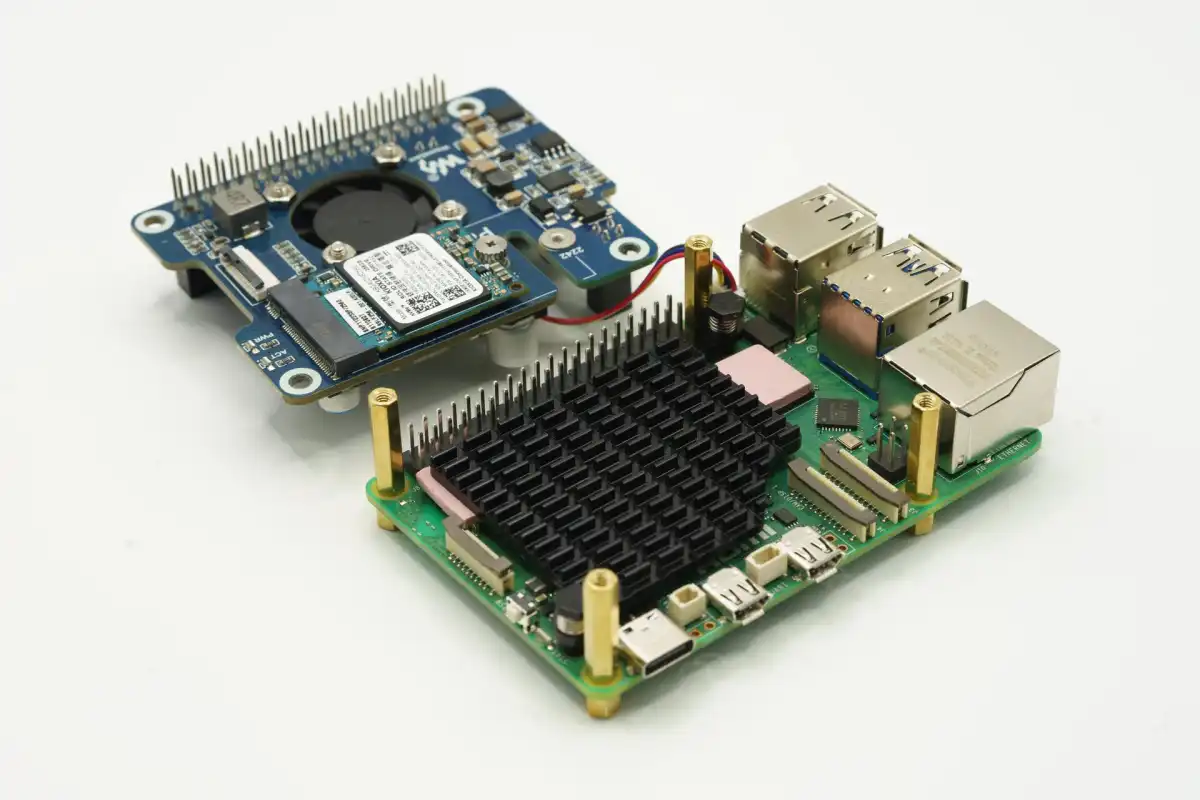
- A so-called “hat” (a type of daughterboard called HAT that attaches to the top of the Raspberry Pi) with an M.2 slot (I chose the Waveshare POE M.2 HAT but there are several others)
- A cooler — often comes with the HAT
- NVMe-based SSD in M.2 format
- MicroSD card of at least 8GB or a USB adapter for the M.2 SSD for the installation
- Micro HDMI to HDMI cable to connect display
Anders Lundberg
You will also need a power source, either a USB charger that supports USB-PD and a USB-C cable or the official charger from Raspberry Pi. If you’re going to use USB accessories without external power, the charger should be able to handle at least 25 watts, otherwise 15 watts is enough.
In addition to the above, you will need a mouse, keyboard, and a monitor — otherwise you will have to connect using SSH in Terminal and make all settings via text commands. If you are later going to use the computer as a server of some sort, these are no longer needed and you can connect using SSH or VNC to make changes.
Further reading: Raspberry Pi: The best beginner projects
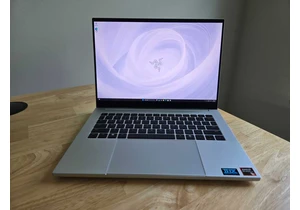
It’s not a must, but I recommend getting a chassis for the computer. It protects against dust and reduces the risk of damage from static electricity. A chassis also makes the Raspberry Pi look more like a complete computer and not just a circuit board.
Foundry
Installing the operating system
Here you have two options. If you have a USB adapter for M.2 SSDs, you can plug your SSD into it and install the system directly onto it. If you don’t, you can use a Micro SD card instead and clone the system to the SSD once the Raspberry Pi is up and running.
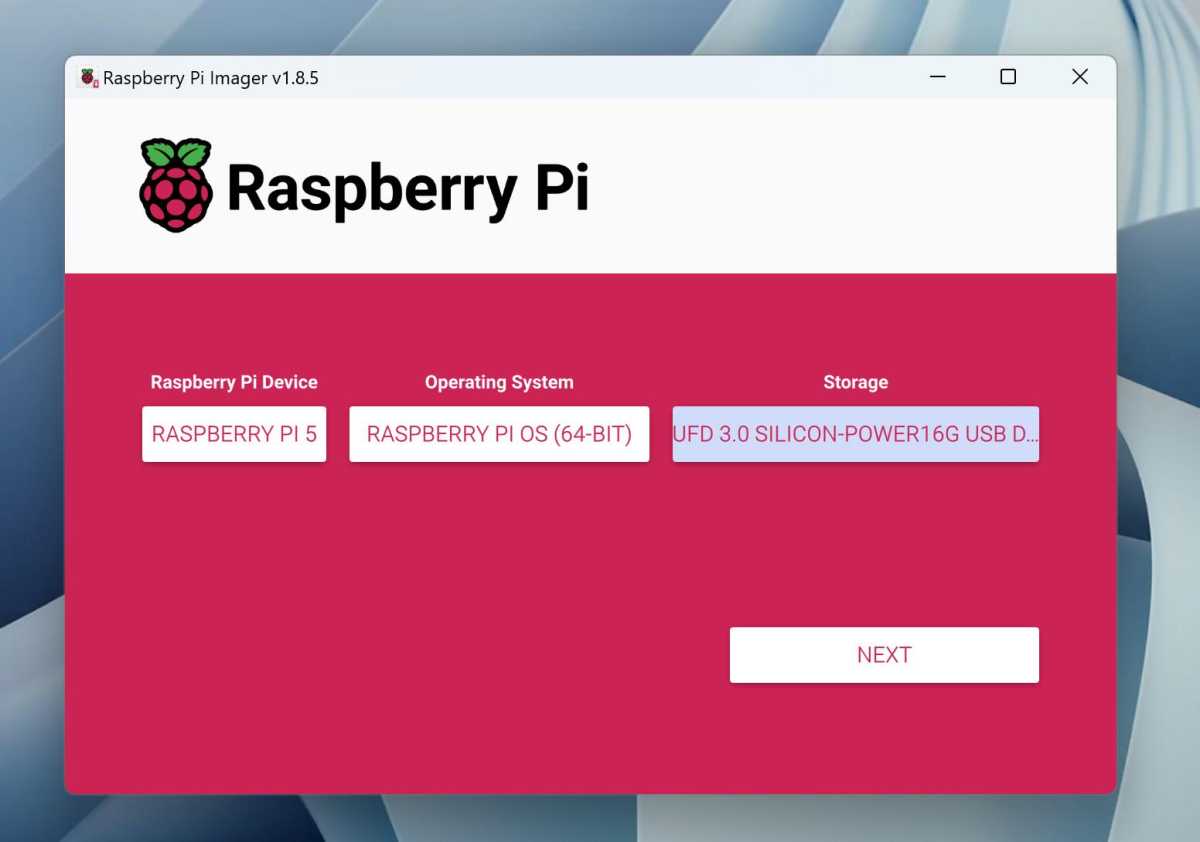
Whichever way you choose, start by downloading and installing Raspberry Pi Imager, a program that makes it easy to install the operating system for the tiny computer.
Once it’s up and running, select the Raspberry Pi 5 for the device on the left, the Raspberry Pi OS (64-bit) in the middle, and your new SSD or Micro SD card on the right. Double-check that you get the right disc so you don’t accidentally erase an external hard drive or SSD if using with your regular computer.
Foundry
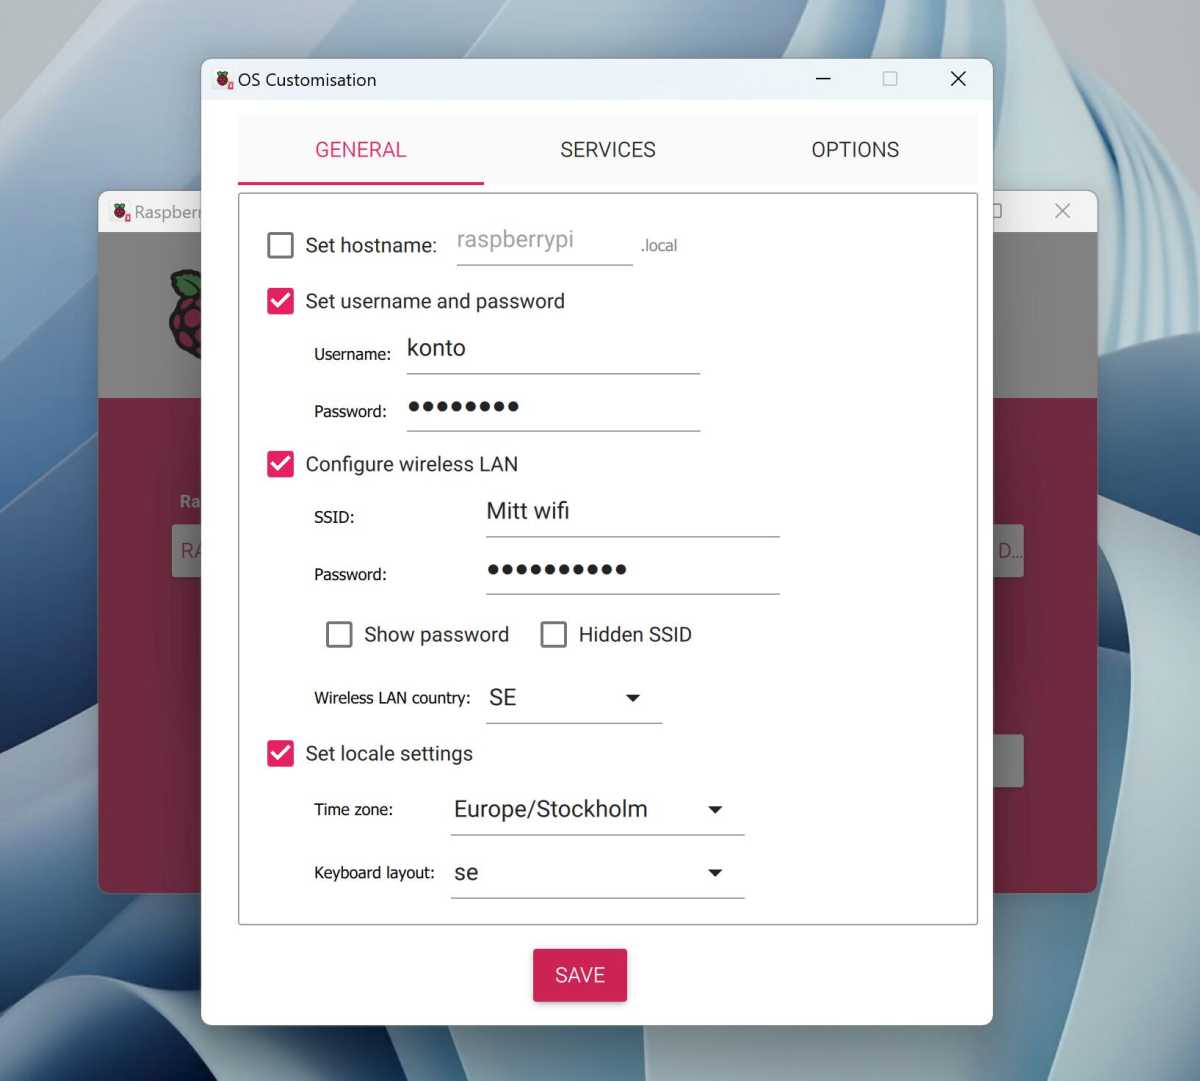
Then click Next and select Edit Settings. These settings make it easier to get started, and they’re saved so you don’t have to fill them in again if you want to reinstall the system later. For example, you can select the time zone and enter the name and password of your wireless network. If you have an SSH key on your computer and want to connect remotely without a password, you can tick Enable SSH under Services and enter your public key.
When you save and move on, the program will ask one last time if you are sure you want to delete all content on the selected target. After that, it will install the system and check that everything was done correctly.
Assembling the computer
The first step is of course to put the parts together. There aren’t many so it shouldn’t take too long, but if you’re not used to tinkering with computer components, there are a few things to keep in mind.
Perhaps the most important is to avoid static electricity, which in the worst case can burn the sensitive circuitry. Do not walk around the room while holding the circuit board, especially not on carpet. Use the box it came in or an anti-static bag to move it.
Ground yourself before touching the circuit board, for example by touching an element or the metal casing of a grounded electrical product. Even safer is to get a so-called ESD wrist strap and follow the instructions.
Anders Lundberg
Start by screwing on the four stands for the HAT where the SSD is mounted. They should be included and are usually made of brass, with a small screw that should sit on the underside of the circuit board.
Then attach the cooling pads that come with the cooler to the various circuits and mount the cooler according to the instructions provided. The cooler is pressed into place with two spring-loaded pins in specific holes on the PCB.
Further reading: Raspberry Pi troubleshooting: Helpful fixes to common problems
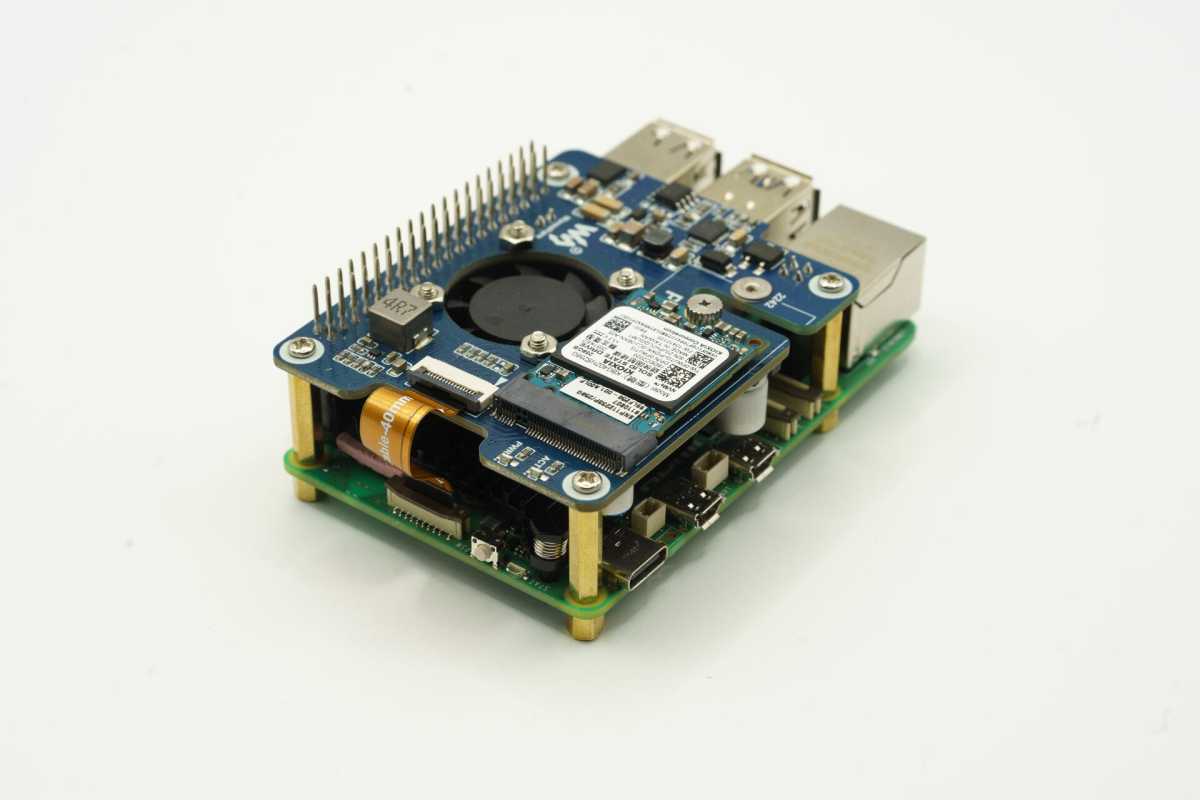
Attach the SSD to the HAT and then carefully install the HAT so that all pins are in the correct position. If the M.2 HAT you have purchased has a built-in fan, you first need to attach it to the connector labelled FAN, which is located behind the outer USB connectors. Gently push the HAT into place and screw it on with the supplied screws.
Anders Lundberg
The next step is to attach the small cable tie between the HAT and the dedicated PCI Express connector on the Raspberry Pi. Gently loosen the fasteners (a brown plastic piece on the Raspberry Pi, may look a little different on different HATs) and insert the ribbon. There are little white arrows showing which way is right — you can see how it should look in the pictures above. Push back the fasteners to hold the band in place.
The last step is to mount the computer in the chassis, if you have one.
Foundry
The first start
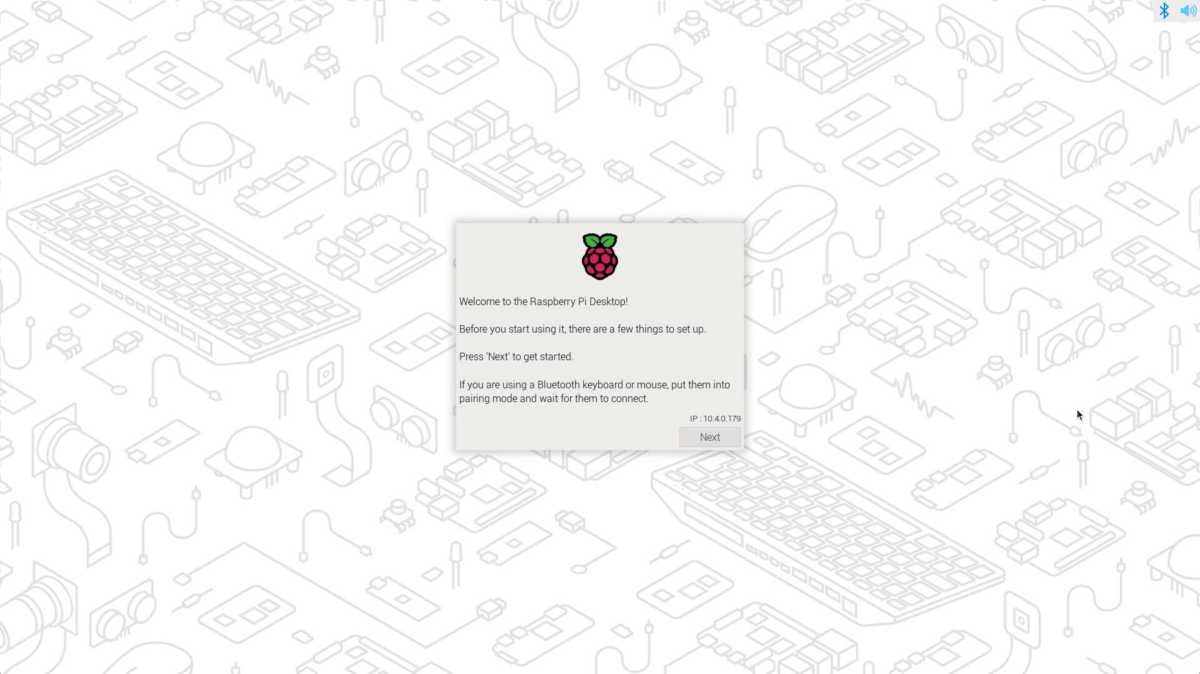
Now it’s time to see if everything went right. Connect the monitor, mouse, and keyboard and then plug in the USB cable for power. The Raspberry Pi doesn’t have an on/off switch, so the computer will start up immediately (however, some power adapters designed for Raspberry Pi have a built-in switch).
If all has gone well, you’ll soon be greeted by the Raspberry Pi OS welcome screen and can start going through the basic settings. If you didn’t fill in a new account name and password during installation, you should do so here. Once you’re done with the settings, the system will check for and install the latest updates before letting you into the desktop.
Foundry
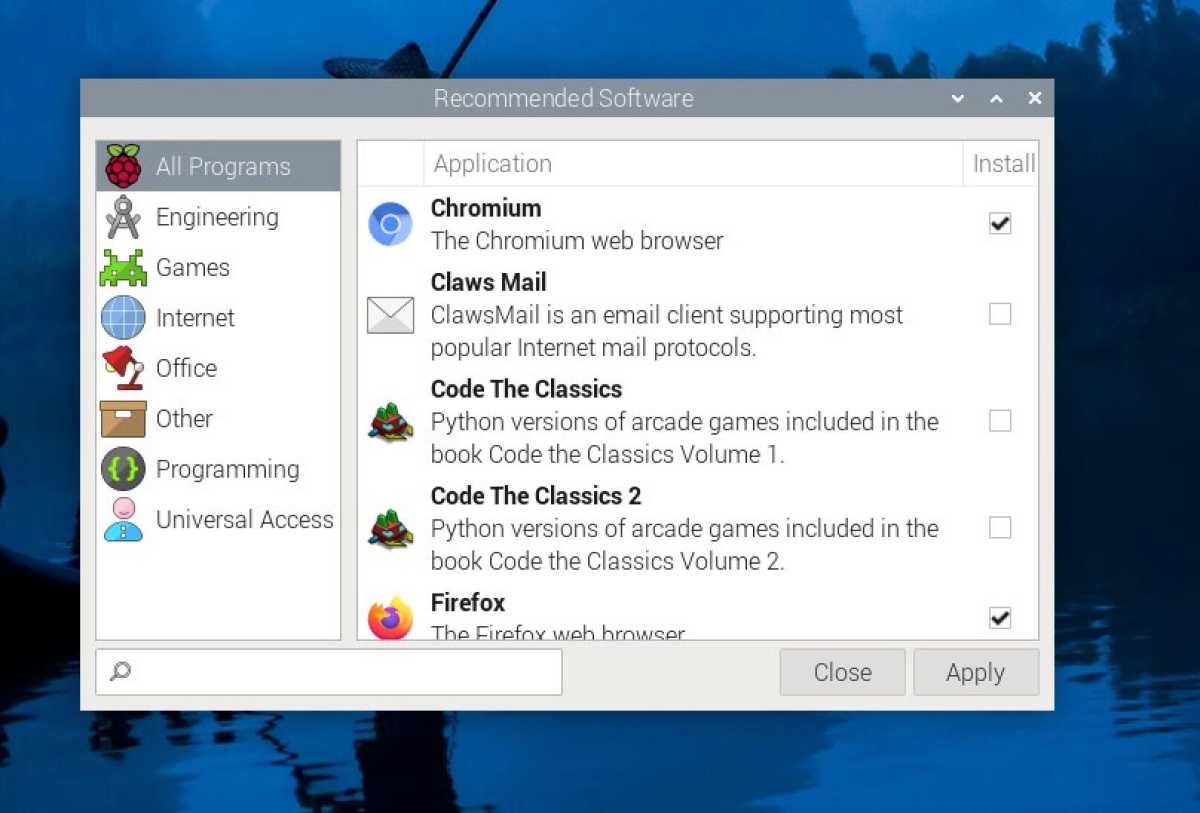
Now you can basically start using the Raspberry Pi as a simple desktop computer. Firefox
Accedi per aggiungere un commento
Altri post in questo gruppo
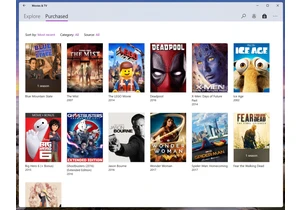
Microsoft said today that it’s shutting down its Movies & TV storefro

Fans of complex strategy games, rejoice! Because this week Epic G

If you’ve ever wandered through some of the less-legitimate corners o